2,645
Related Course
- 35 mins
Contents
ToggleSkoolie Toilet Options
The one course you need to help you decide which skoolie toilet is right for your desired skoolie lifestyle.
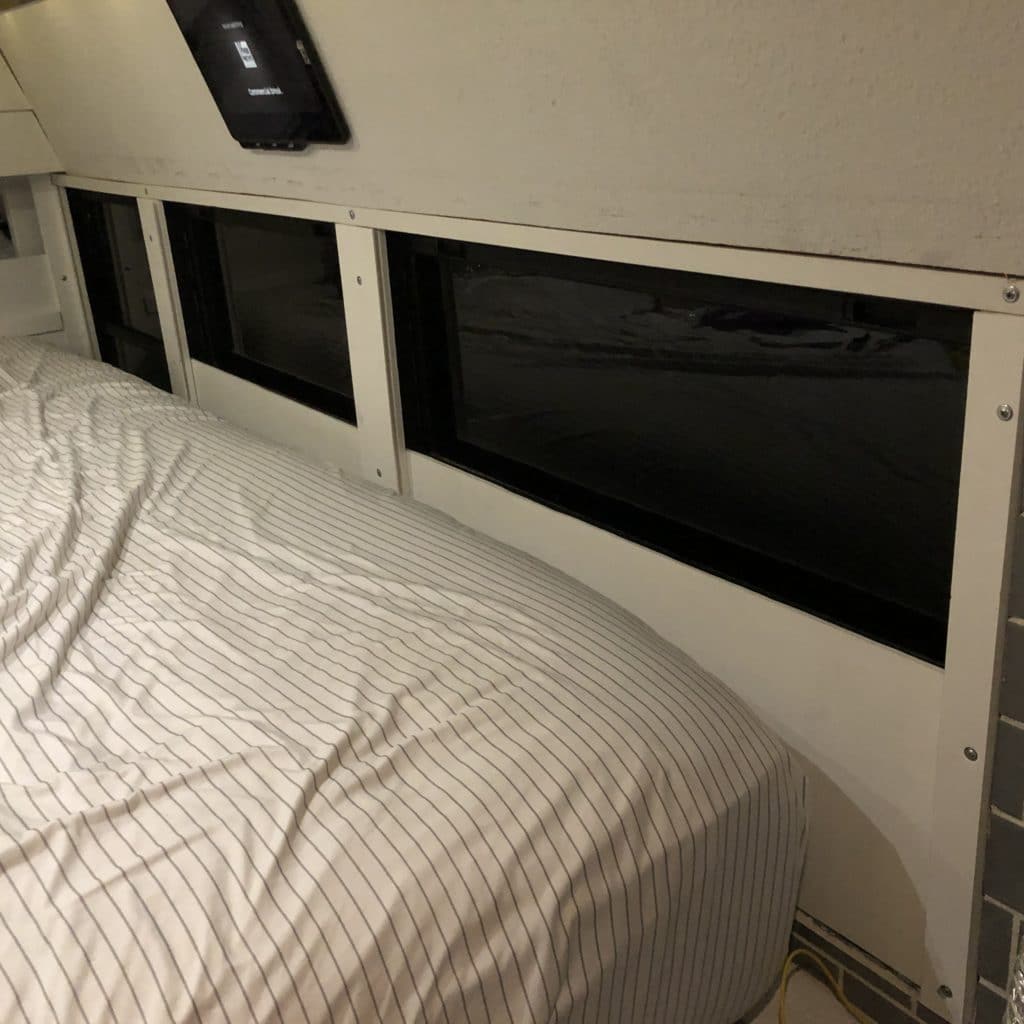
Installing DIY insulated school bus window shutters in a skoolie can be one of the cheapest and best draft blocking options for school bus windows. Also, they can block out almost all of the light if you are looking to sleep in while preventing cold or heat from impacting the room with reflective insulation.
In this guide, we will go through one of these skoolie window options we used in our skoolie to create DIY insulated school bus window shutters for our skoolie.

Why Add Insulated Shutters to School Bus Windows
Insulated window shutters on school bus windows are an ideal method for a skoolie that will see regular extreme hot or cold temperatures, yet the windows will also be opened often to let in the fresh air.
With privacy and room darkening abilities, these would be perfect for those who like to sleep in or have young children that need to get a good nap in during the middle of the day.
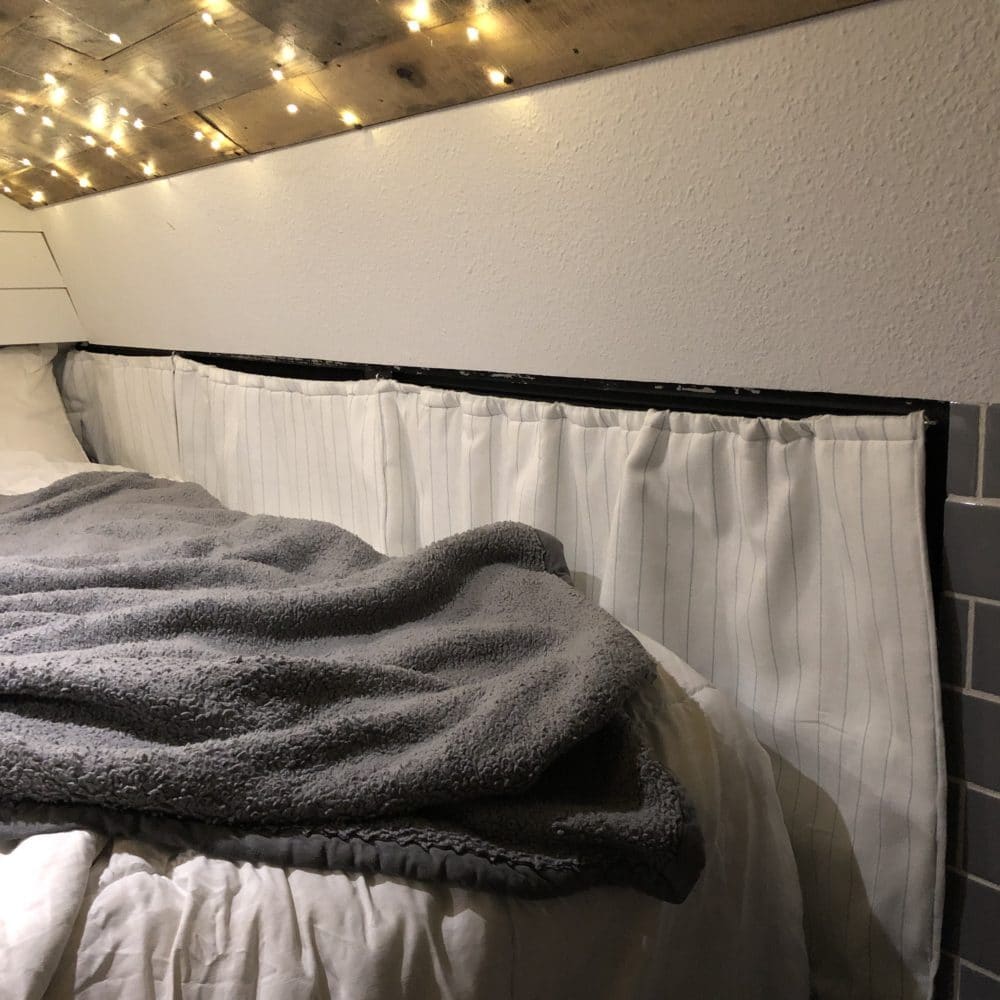
Compared to the double-pane school bus window option, this method provides a way to open and close the windows to get fresh air, more privacy built-in, and the ability to block out all sunlight in an area of the skoolie if used on all windows. However, the shutter method does block out the bottom of the window permanently, so it is best to use this window option in areas such as next to a bed or behind kitchen counters where the lower half of the window is not needed.
Skoolie window shutters will also condensate less than insulated curtains. However, these window shutters are more permanent and not as design-friendly compared to what curtains may be.
How to Install Insulated Shutters on School Bus Windows
Although this is not a complete step-by-step process with every dimension, I’ll go through the process we used to create our insulated window shutters for school bus windows.
Materials Needed
Although this is not a complete step-by-step process with every dimension, I’ll go through the process we used to create our insulated window shutters for school bus windows.
- PVC, wood, other window trim material
- Same material for shutter trim
- 1/4″ material for shutter pannel
- Reflectix
- Adhesive foam-backed reflective automotive insulation
- Sheet metal screws
Note one material usage: We used PVC materials to prevent them from absorbing any moisture or molding, as wood can do if not 100% sealed.
Tools Needed
- Table Saw
- Chop Saw
- Drill
Steps to DIY Your Own
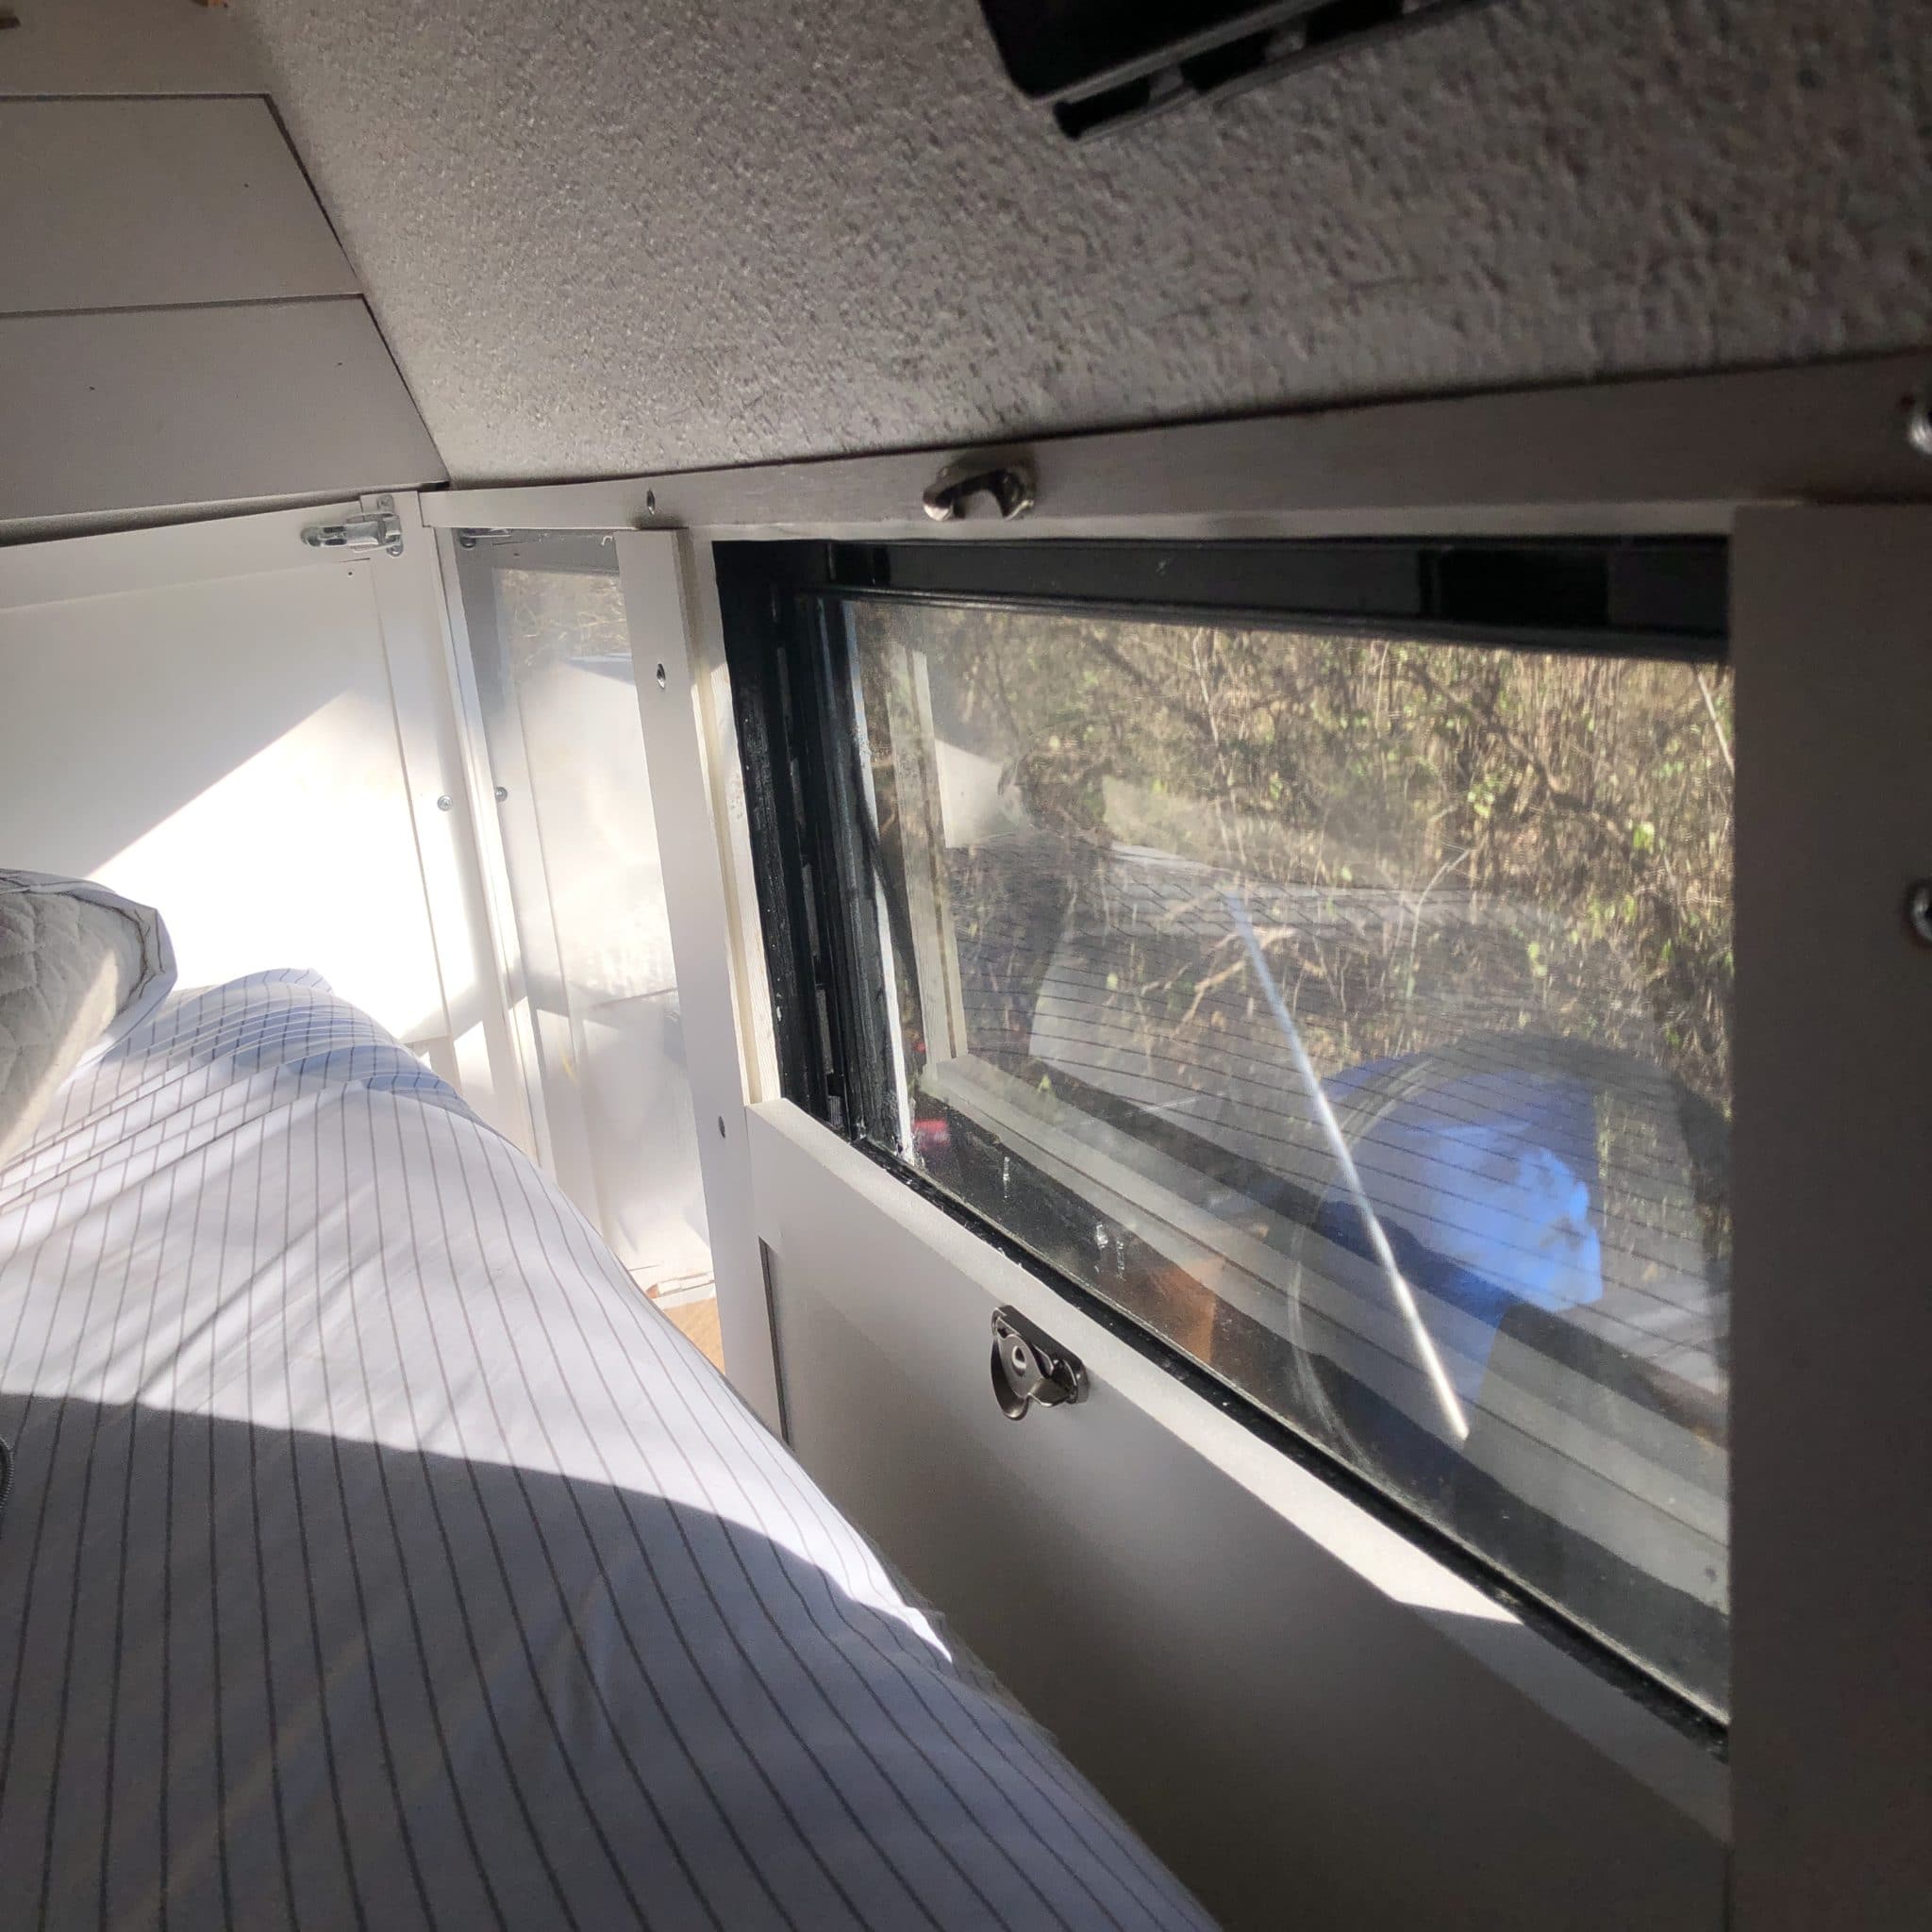
1) Pillar Trim
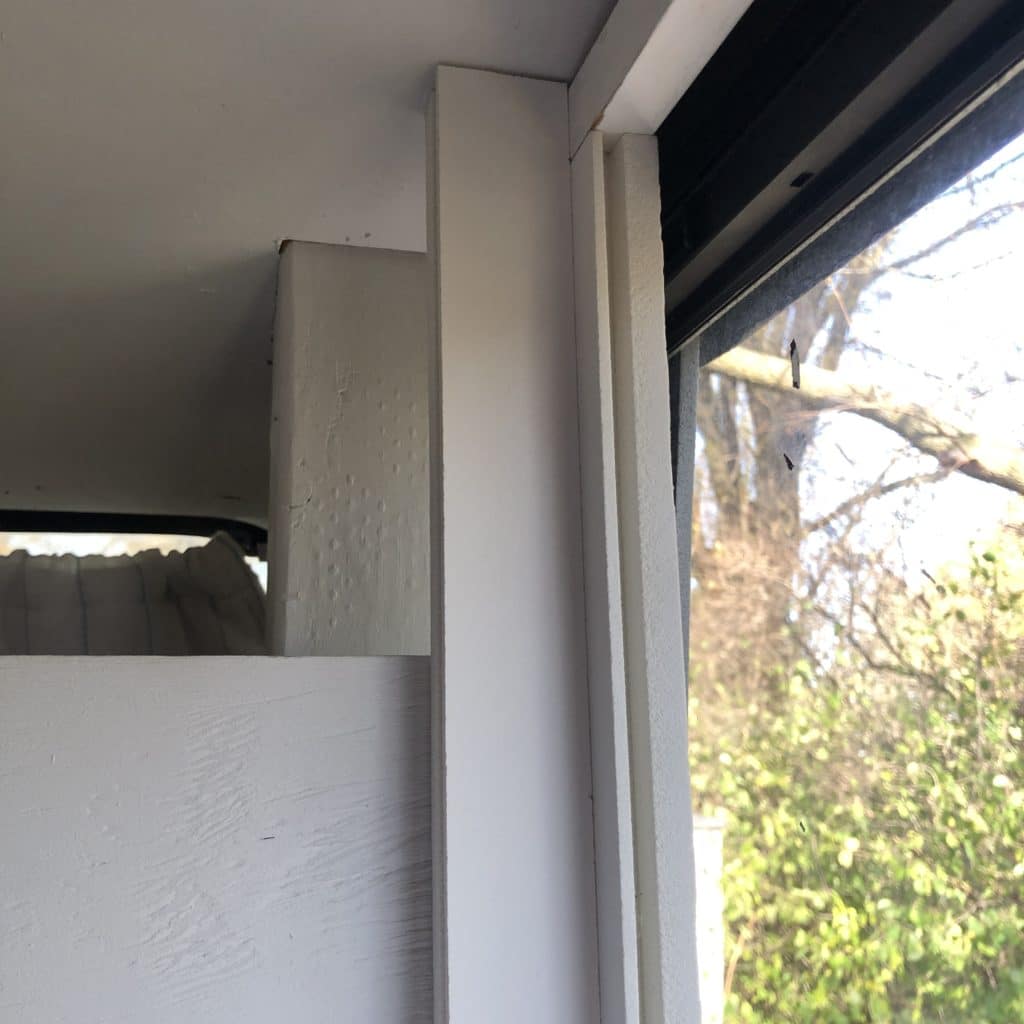
The pillar trim pieces are what hold the lower base in that you see when the shutter is closed (see step 2) and also create the track for the shutter to slide in.
We used 3″ x 1″ exterior PVC trim pieces for the trim. This trim had a smooth side and a fake wood grain side. We decided to have the smooth side visible to the interior. As you can see in the picture, we cut a track that was slightly wider than the shutter material we used in step 3.
First, cut pillar pieces to the height of the space between the bottom and top of your windows. Then measure the thickness of the material you will use for the panel of the shutter material. We used 1/4″ thick smooth PVC paneling that was the same material as the PVC trim. The track we cut was slightly wider at about 5/16″ – 3/8″ to allow the 1/4″ board to slide in the track. The depth should be around 1/4″ – 1/2″ depending on how wide you cut the shutter panel in step 3.
As you can see in the picture, we cut this track 1/4″ in from the interior side of the trim that will face into the skoolie. This allows for more space for the boards on the shutter to slide in front of the bottom lower base panel.
2) Bottom Lower Base Panel
The bottom lower base panel will block off the bottom of the window when the shutter is closed up, while also holding in the insulation for the bottom half of the window.
We used the same 1/4″ PVC panel and this is actually sandwiched between the PVC pillars cut in step 1 and the aluminum school bus window trim. The PVC panels should be at least 1″ wider than the width of the window so the panel overlaps the school bus window aluminum trim by 1/2″ on each side.
The height of the bottom lower base panel should be cut to span from the bottom of the window to roughly 1/4″ above the middle of the school bus window to cover the metal trim in the center of the window.
When installing this, make sure your insulation is between the panel and the window. We used Reflectix against the window, as well as adhesive foam-backed reflective automotive insulation stuck to the PVC panel.
Since this panel will create a 1/4″ gap between the school bus window trim and the PVC pillar, you will want to add some of the adhesive foam-backed insulation between the PVC pillar and the window trim to fill the gap above the lower base.
3) Build the Shutters


The shutters are using the same PVC trim and paneling. As stated in step 1, you will want to cut the panel to be slightly smaller than the total width of the window plus the depth of the track on each side. For example, if the window is 28″ wide and you cut a 1/2″ track on each side of the pillar, you will want to cut the panel to be at most 28 7/8″ inches so that you have some space for the shutter to slide. This shutter may need to be trimmed to ensure it slides smoothly.
Two trim boards using the same 3″ board as the trim should be cut that span between both trim boards. Make sure there is about 1/8″ wiggle room so the shutter can slide smoothly. These should have a 1/4″ track cut into them roughly 1/2″ deep so the shutter panel can be stuffed in and secured to the panel.
The height of the PVC panel in the center is cut to be 5″ shorter than the height of the lower bottom base panel. This is so the panels are the same height and will overlap roughly 1/2″ – 1″ in the center of the window when the shutter is closed since the bottom base panel is cut to be 1/2″ taller than halfway up the window.
Back the window shutter with the adhesive foam-backed reflective car insulation as shown in the picture above.
4) Install the Shutters
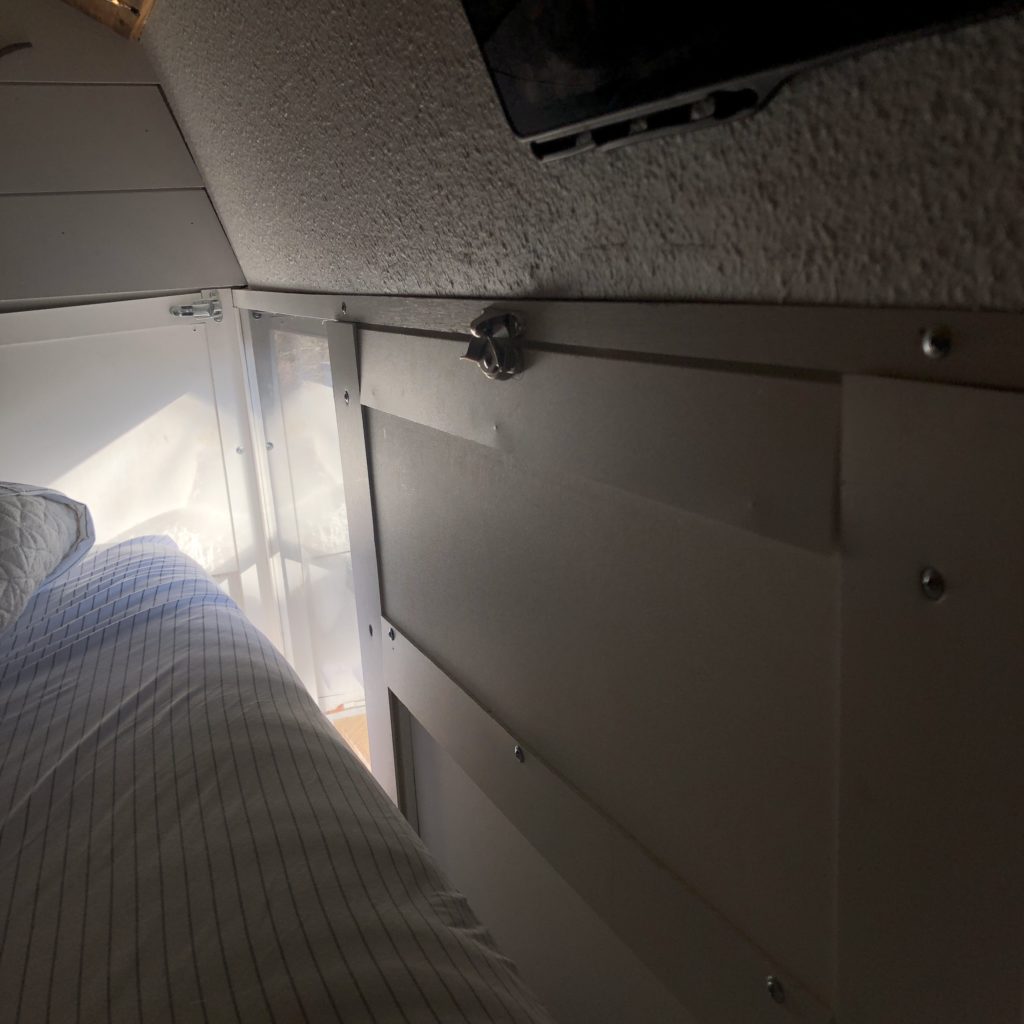
The shutter is sort of a puzzle to install with all the different pieces.
We screwed in the trim with the lower bottom base panel installed on one side. Then, we slid in the upper shutter into the track of that installed trim piece. On the other side, we slid the trim piece onto the shutter, then pushed the trim against the lower bottom base panel and screwed that trim to the window.
If you are doing a series of windows, as we did 2 in a row, you will want to make sure the next window’s lower bottom base panel is also being installed when you screw in the second trim piece of the window next to it. Then repeat the process of putting these together until you get to the last trim piece.
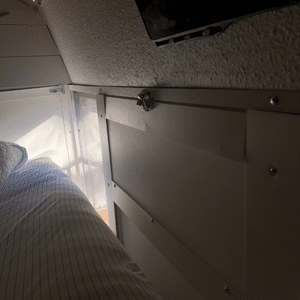
Finish it up by installing a window latch at the top so the window shutter can be pulled up and locked in place.
Join the Skoolie Livin Community!
Related Course
Skoolie Toilet Options
Get the complete overview of skoolie toilet options to help you decide which one is right for your desired skoolie lifestyle.
- 35 mins