Installing DIY double-pane school bus windows is a cheaper and faster solution to stopping draft and heat transfer with stock school bus windows compared to replacing them with RV windows.
In this guide, we will go through one of these skoolie window options we used in our skoolie to create DIY double-pane school bus windows using plexiglass.
Why Add a Second Pane to School Bus Windows
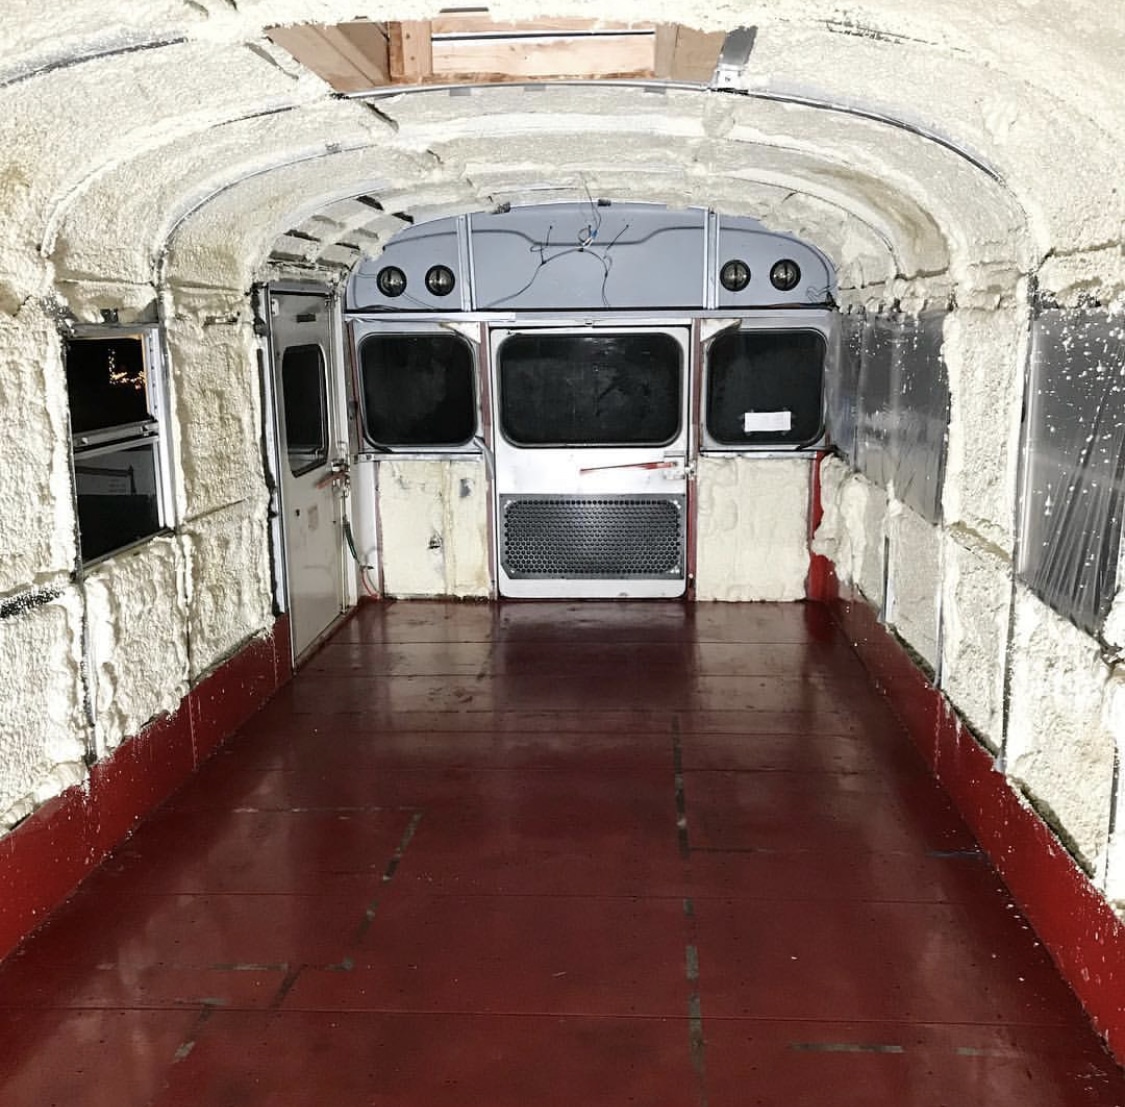
School bus windows not only don’t 100% seal, but they can let drafts, dust, heat, cold, and bugs into a skoolie. The stock school bus windows will stop most of the elements and intruders, but not all. For this reason, many people looking to build a skoolie to use often or for full-time living decide to remove the stock windows, cover up the window holes with new sheet metal, then install RV windows.
However, we think RV windows might not be the best option alone.
In the next section, we will explain the differences between doing DIY double pane school bus windows vs RV windows.
DIY Double-Pane School Bus Windows vs RV Windows
Benefits to RV Windows
The main benefit to installing RV windows in a skoolie is that they seal much better stopping draft, dust, and any potential bug from crawling through cracks. They can also allow you to install custom-sized windows in various places compared to being stuck with the size and placement of school bus windows.
Downsides to RV Windows
Replacing stock school bus windows in a skoolie with RV windows can be an expensive and time-consuming task.
A single pane RV window that fits into the same space as a school bus window like this RV window will cost $125 to $250 dollars. Add on the cost of the sheet metal to cover all of the bus windows and this is a significant cost per window.
Also, most RV windows on the market are still single-pane windows unless you are paying a premium for double-pane RV windows. Since the majority of RV windows are single-pane, these windows will still allow heat to transfer as stock school bus windows would. There also may still be condensation.
Benefits to DIY Douple-Pane School Bus Windows
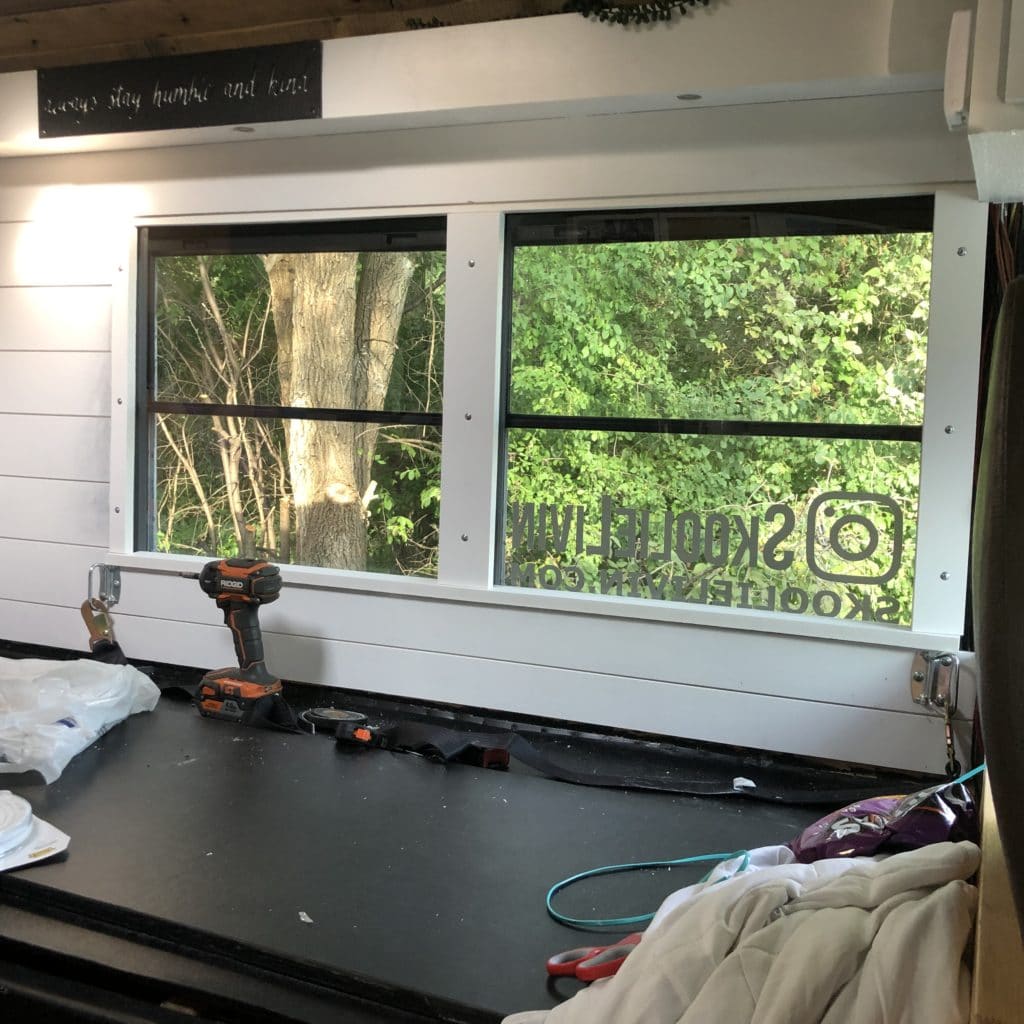
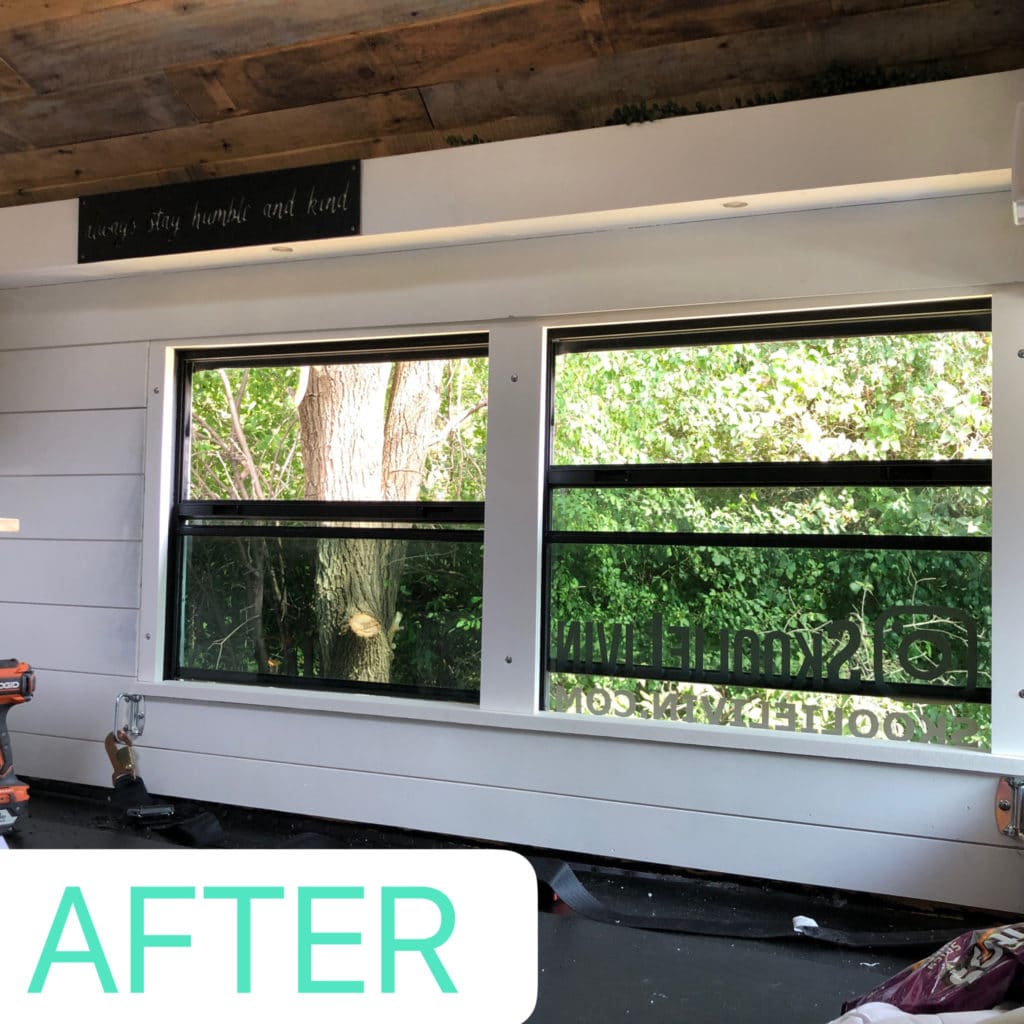
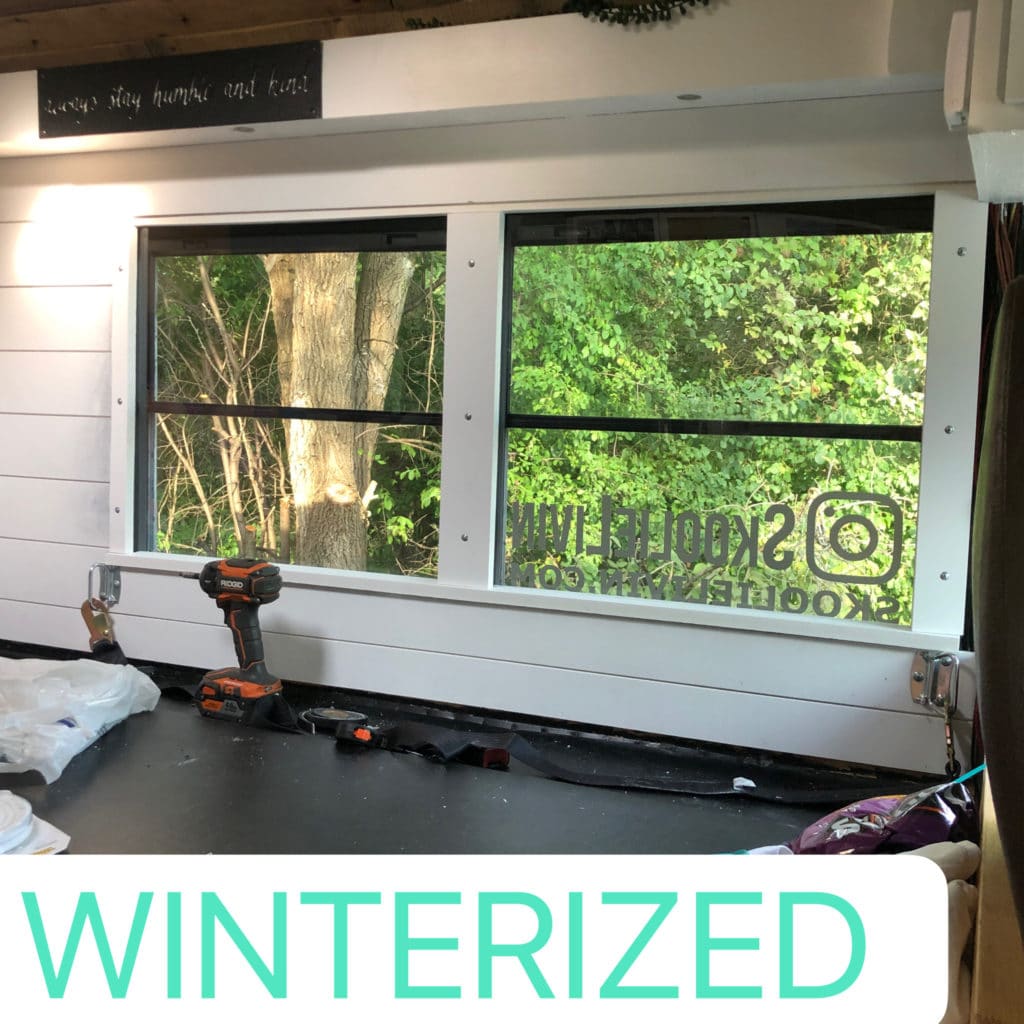
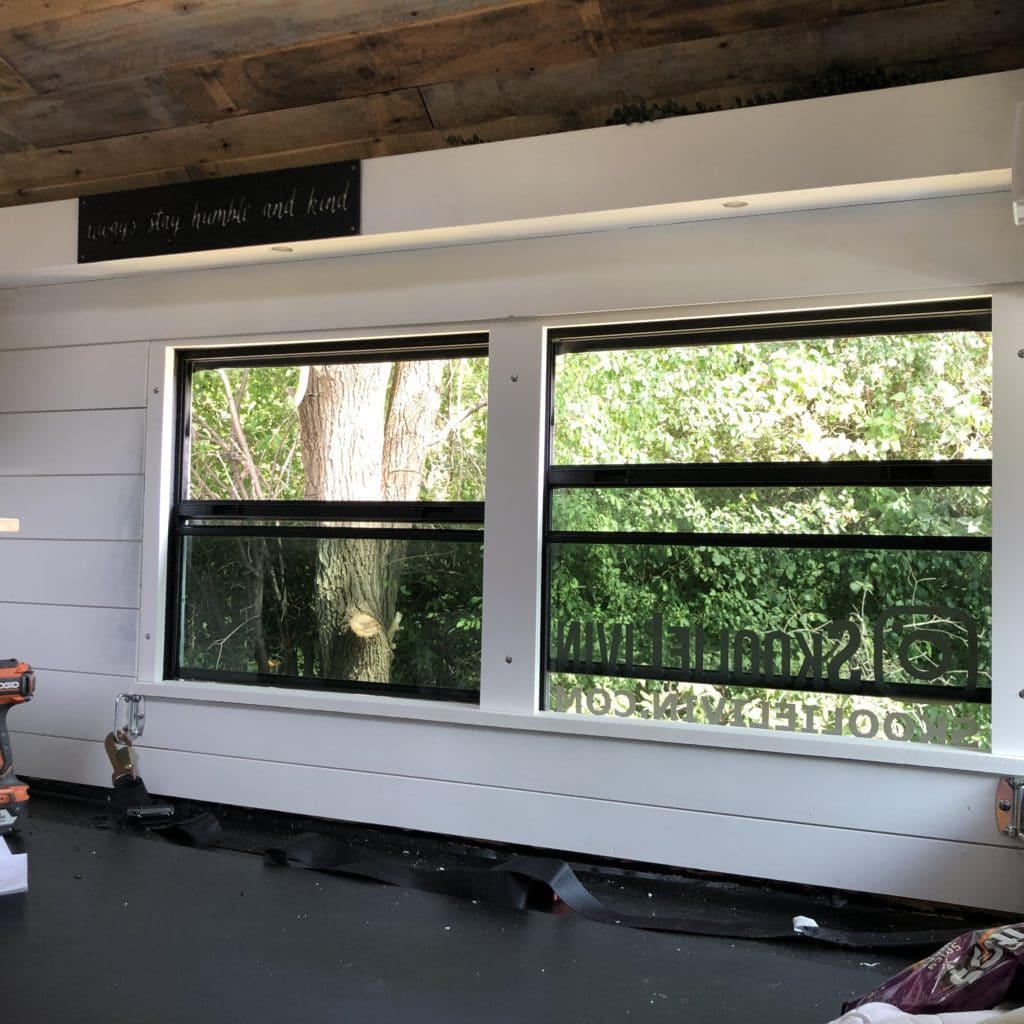
Using the double-pane plexiglass method over school bus windows will create an air gap between the stock bus windows and the plexiglass used to create the second pane. This air gap prevents heat transfer, as well as stopping all drafts, dust, and bugs from entering the school through any potential crack in the school bus windows. This second pane also helps prevent almost all condensation on the windows.
Cost and time are also benefits to this approach. It took only a few hours of work to install panes of plexiglass over the two windows by our couch area with a cost of $40 per window.
Downsides to DIY Double-Pane School Bus Windows
The main downside to a DIY approach to installing a second pane over school bus windows is that this method does require some engineering and craftsmanship required to custom install the pane of plexiglass and trim required to secure it in place. However, this is MUCH easier than removing school bus windows, installing new steel, and finally installing RV windows.
Also, anytime you want to open the window you will have to undo the pillars and take out the panes, then replace the pillars.
How to Install a Second Pane on School Bus Windows
Although this is not a complete step-by-step process with every dimension, I’ll go through the process we used to create our double-pane window using trim and plexiglass.
Materials Needed
- PVC, wood, other window trim material
- Plexiglass larger than the window
- Sheet metal screws
Tools Needed
- Table Saw
- Chop Saw
- Jigsaw with PVC blade
- Drill
Steps
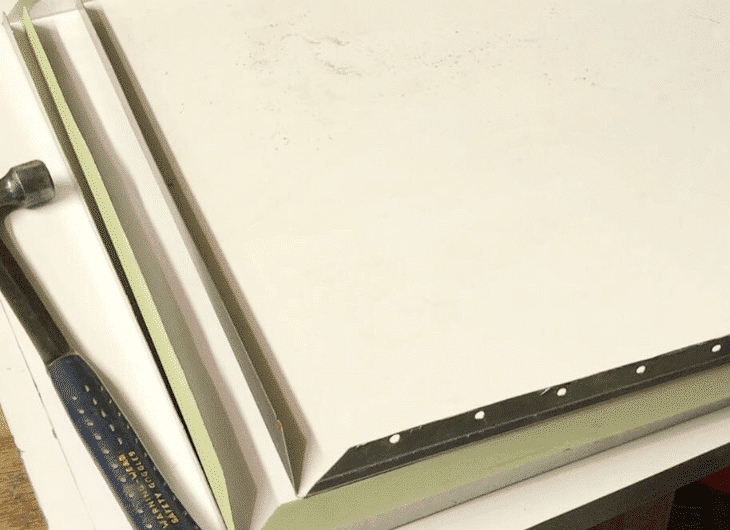
1) The Base Trim
Cut the base trim piece that will be a window sill. The width of the board you use will depend on your wall thickness. We used 3″ board for the base which allowed us to cut notches out so the trim board touched the bus window, went around the school bus window trim, and stuck out about 1″ from the wall.
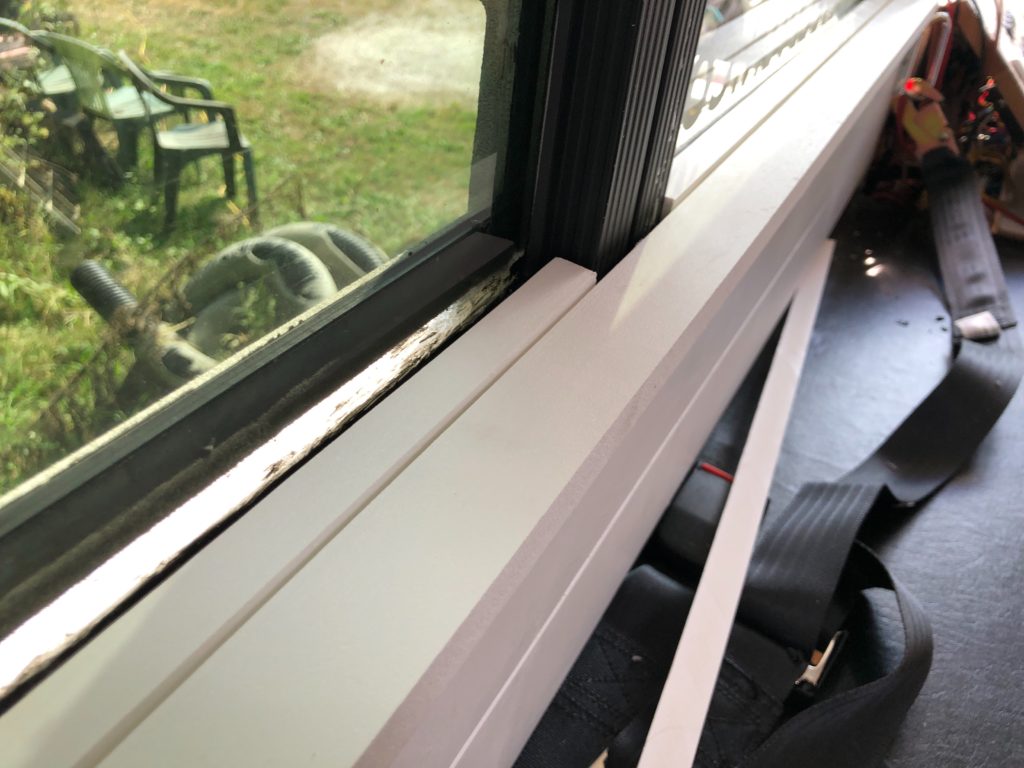
Before this is mounted into place, we used a table saw to cut a track into the board that would be used to hold the plexiglass pane in place. The placement of this track cut into the board is important. The window side of the edge of this track must line up with the trim of the bus window trim so when the plexiglass is in place it rests an edge on each side of the window trim.
We mounted this piece using liquid nails and a nail gun with 2″ nails to secure it to the wall.
2) The Plexiglass
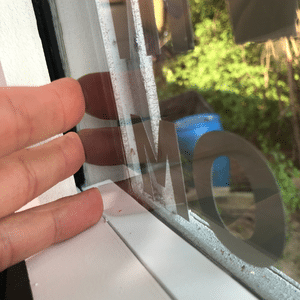
The plexiglass must be cut carefully so that it doesn’t break. We used a jigsaw with a fine-tooth blade meant for cutting plexiglass/PVC.
Cut the plexiglass so the plexiglass hangs over the left and right trims of the school bus windows by 1/2″ as this edge will be used to secure the sides. Make sure to keep a clean edge at the bottom so it can fit cleanly into the bottom track you cut into the base trim.
The top of the plexiglass should be cut if necessary to meet up to the top of the school bus window trim.
3) The Pillar Trim
The pillar trim is what secures and presses the plexiglass in place on the sides. We used the same 3″ PVC board we used for the base trim, which was the perfect width to cover the entire stock school bus trim with a little extra overlap. For the side that met up with the wall, we cut the board in half and met it up with the shiplap edge on the wall.
Cut the pillar trim pieces to the desired length. On the backside of the trim put foam tape that will help create a better seal with plexiglass. The pillar trim pieces are then screwed into the frame “roll cage” ribs of the bus between the windows.
4) Top Trim
The top trim can be done in two ways. We did one method where we have a small piece of foam-backed trim that was placed to fill the gap. Then we placed the pillars and screwed those in. Essentially, the pillar trim pieces hold the plexiglass to the window frame and wedge this piece of trim in place. This was a quick method as we did this right before winter really got serious.
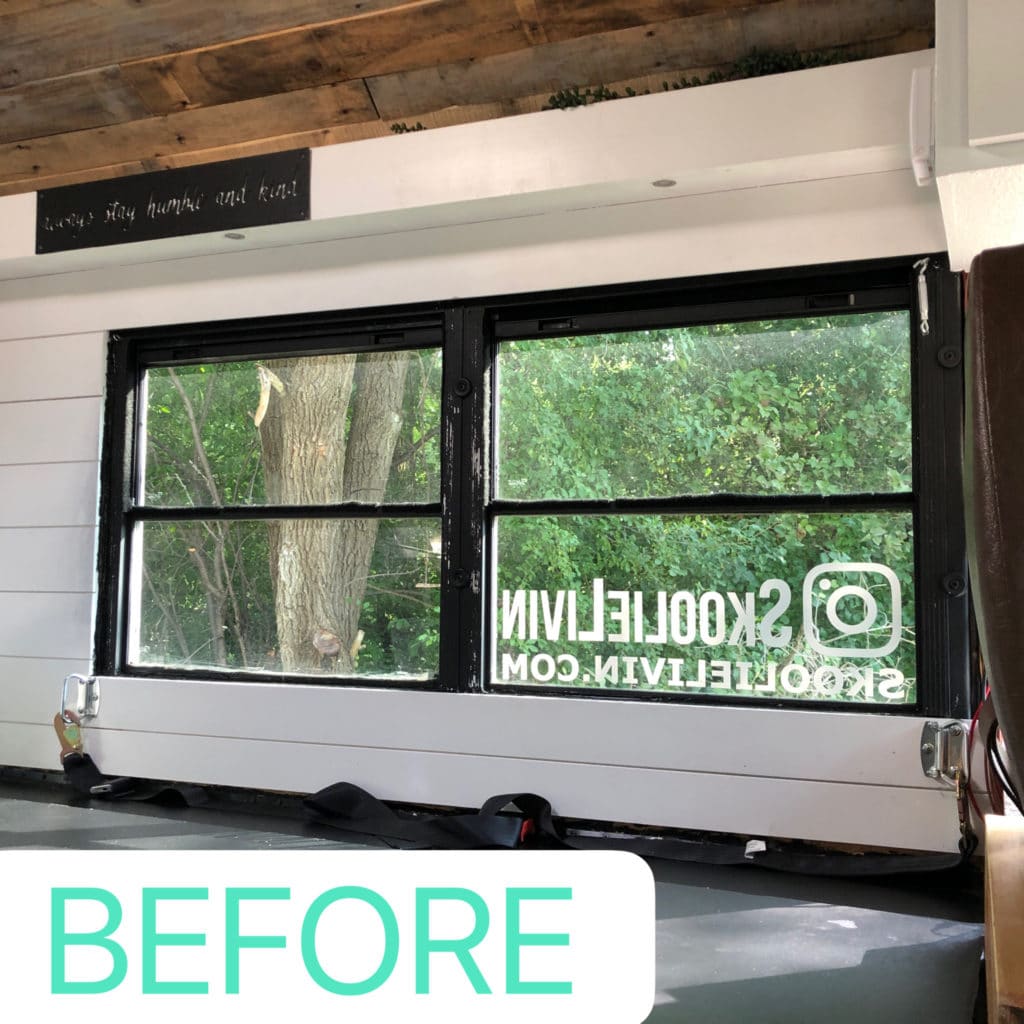
We plan to remove this small filler trim piece and fill it with thick foam that the plexiglass presses against. Then we plan to remove the top shiplap piece to add a new larger 3″ top trim piece that would hide the gap pictured here. Then cut the shiplap board to fit around this new larger trim piece.
When to Install a DIY Second Pane of Plexiglass
If you are planning your conversion or are currently mid-build, I would plan to finish the windows first to have completely trimmed out the windows with 3″ board all the way around to make a uniform look. Then finish the walls around them with shiplap, drywall, or whatever other material you plan to use to finish the walls.
Since plexiglass is expensive, I would not install the sheet of plexiglass right away or at least leave the plastic film to prevent it from being damaged if you are still doing construction around the windows.
We tend to remove the plexiglass in spring so we can open the windows. We fold them into an old sheet and tuck the pieces of plexiglass behind the driver seat when not in use. Otherwise, we have them in place during the summer, especially on hot days, to prevent the tinted school bus windows from radiating in heat. We leave them in during the fall and winter to prevent heat from escaping the skoolie.
This double-pane school bus window method is by far the most air-tight sealing method to prevent drafts, condensation, dust, and bugs from entering through the windows that we have come up with when keeping stock school bus windows.
However, we did come up with another school bus window shutter method for the back bedroom windows, since we tend to open them from time to time all year, especially with our tiny wood stove being in the back bedroom area. This method also works to block out all light from the outside and have complete privacy.